-10% with code FALL10
Remove the old grip
Start by removing the old grip from the handle.

A well-installed grip on your tennis racket greatly improves your comfort and performance on the court. If you don't know how to do it, don't worry: we'll explain the process step by step.
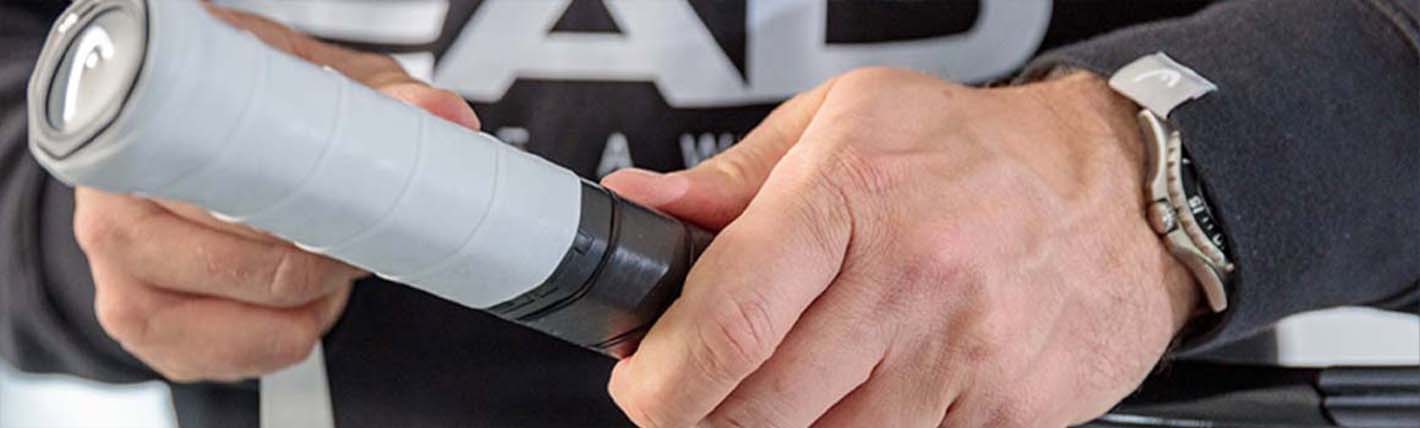
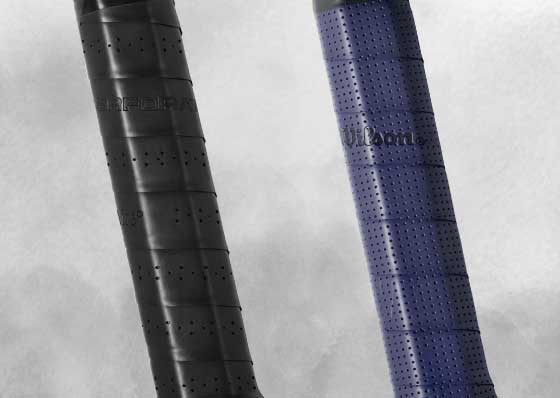
Before starting, it's important to understand what a grip is. It's a strip of leather or synthetic material that attaches directly to the racket handle and provides the base for your hold. A tennis grip in good condition ensures a good hold, reduces vibrations, and prevents blisters.
To install a grip on your tennis racket, you will need:
Follow these steps to effectively install a tennis grip.
Start by removing the old grip from the handle.
Unroll the new grip and remove the protective film from the adhesive side.
Start from the bottom of the handle by placing the beveled part of the grip. Make sure to stretch the grip from the start.
While maintaining constant tension, wrap the grip around the handle, overlapping it very slightly with each turn (some brands draw a line on the edges to visualize the overlap).
Once at the top of the handle, draw a straight line with a pen that separates the junction of the handle and the racket's frame.
Cut off the excess with scissors, then secure the end of the grip with the provided adhesive tape so it doesn't unroll.
If you are right-handed, turn the grip clockwise. If you are left-handed, do it counter-clockwise.
A worn grip compromises your hold and can cause blisters: your hand slips because the grip no longer absorbs perspiration. Change it regularly.
A well-applied grip means more comfort, a better hold, and improved feel on the court. Discover our selection of tennis grips.
Discover our tennis grips